This tutorial assumes you have already
- Read the Pre-requisites
- Downloaded the latest Forge MDK
- Setup your mod folder as described at the top of the main Forge 1.15.2 tutorials page
- Read and followed 1.0 - Gradle Configuration
- Read and followed 1.1 - Importing the project into your IDE
This tutorial will help you set up your main mod class and create the most basic mod possible.
Main Mod Class
Your mod’s Main mod class is the class that is loaded by Forge and sets up the data structures for your mod. In current versions this class doesn’t really have much functionality except for making your mod a mod, but in previous versions, especially older ones, this class handled almost everything related to Forge and being a mod.

Java Concepts (Click each concept to view the official primers by the makers of Java):
- Objects
Objects are things. Real world examples of Objects are your dog, your desk, your computer, your bed and your bicycle.
Real-world objects share two characteristics: They all have state and behavior. Dogs have state (name, color, breed, hungry) and behavior (barking, fetching, wagging tail). Bicycles also have state (current gear, current pedal cadence, current speed) and behavior (changing gear, changing pedal cadence, applying brakes). Your mod is an Object like everything else in Java and it has state (modid, author, logo) and behaviour (what it does when the game is lauched, what it does when other mods are loaded, what it does when Minecraft is fully loaded) - Classes
In the real world, you’ll often find many individual objects all of the same kind. There may be thousands of other bicycles in existence, all of the same make and model. Each bicycle was built from the same set of blueprints and therefore contains the same components. Your mod is no different. Your main mod class is the blueprint for your mod, which will get loaded by Forge.
- Packages
A package is a namespace that organizes a set of related classes and interfaces. Conceptually you can think of packages as being similar to different folders on your computer. You might keep HTML pages in one folder, images in another, and scripts or applications in yet another. Because software written in the Java programming language can be composed of hundreds or thousands of individual classes, it makes sense to keep things organized by placing related classes and interfaces into packages. You’re going to want to keep stuff seperate in your mod too. You’re going to want to keep Entities separate from Blocks and Item separate from Sounds for example. You’re also going to want to keep client side code separate from server side code.
- Annotations
Annotations provide metadata about parts of a program without being part of the program itself. The
@Modannotation contains metadata (your modid). Forge sees this annotation on your main mod class and knows to try to find amods.tomlfile for your mod. If it finds this file it will load your mod and create an instance of it when it is time to load mods.
The first step to making your main mod class doesn’t involve your mod at all. In fact the first step is to disable the example mod that comes with the Forge MDK.
If you don’t disable this example mod, Forge will try and load both your mod and the example mod at the same time. This is not necessarily an issue in general, but as you’re going to have modified your mods.toml file for your mod, the example mod will not have any mods.toml file. This will cause the game to fail to load with the error mods.toml missing metadata for modid examplemod. To disable the example mod just comment out the @Mod annotation on the examplemod class at com.example.examplemod.ExampleMod (/src/main/java/com/example/examplemod/ExampleMod.java).
Commenting out this code stops Forge from discovering the example mod and knowing its a mod. Since it never discovers the example mod it won’t load the it and you won’t get the error from trying to load both your mod and the example mod.


Commenting out code is the practice of marking parts of code as comments, so that they are ignored and not run. The aim of this is to temporarily disable a certain part of code.
Comments are parts of code that are ignored by your computer when it is running the code and only exist for humans to read. Comments are usually put on pieces of code to explain what that piece of code does and why that piece of code is there instead of somewhere else.
Secondly open your mods.toml from /src/main/resources/META-INF/mod.toml. In this file change the modid to your mod’s modid.
Mod Id
Your Mod Id is a unique identifier for your mod. It must be between 8 and 64 characters and be made up of only lowercase alphanumeric letters (a-zand0-9), dashes (-) and underscores (_).
Then change the displayName to the Mod Name of your mod
Mod Name
Your Mod Name is the display name of your mod. Should contain only normal alphanumeric characters (a-z, A-Z, 0-9). It must be unique. Try and be innovative when coming up with your Mod Name because no other mod should be named something similar to your mod. If you have two mods with the same modid (which is derived from the mod name), the game will not be able to load.
You can also change the credits, authors and description parts of your mods.toml file now, but this is not required and can be done later.
Now we’re finally going to start to write some code! Start off by making a new package.
Packaging
The packaging for your mod is the same as the Mod Group. It can consist of only lowercase alphanumeric letters (a-zand0-9). It is in the formatyourwebsitereversed.modid. Websites are used in packaging to avoid name collisions. Your web presence is unique so it is commonly used. If you don’t have a website, you can use your version control repository as your web presence, e.g.com.github.username.modid. If you don’t use version control, start using it! In the meantime you can use the packagingmod.yournameinlowercase.modid.
The entirety of your Mod Group needs to be in lowercase! This is because some file systems (windows) consideriTeMsanditemsto be the same, but every other system considers them to be different. Trying to load non-lowercase files on different filesystems can cause massive problems and hard-to-track-down bugs!
Examples of packaging for your mod:
io.github.cadiboo.nocubes(the website is “cadiboo.github.io” and the modid is “nocubes”)io.github.krevik.kathairis(the website is “krevik.github.io” and the modid is “kathairis”)com.github.coolalias.coolmod(the website is “github.com/coolalias” and the modid is “coolmod”)mod.coolalias.coolmod(there is no website, the author is “coolalias” and the modid is “coolmod”)
Please note that your package needs to be lowercase!
Next make a new Class and name it after your mod name or simply call it Main.
The name of your main mod class should be either
Mainor your Mod Name in upper camel case/Pascal case. Your class name can only contain alphanumberic characters (a-Zand0-9). Examples of main mod class names:
MainNoCubesKathairisMekanismTinkersConstructBetterFoliage
In your new class, create a constant String called MODID and make its value be your modid.
A constant in Java is a
public static finalfield
A
Stringis a sequence of characters. AStringis surrounded by quotation marks ("). An example of aStringis"Hello World!"or"Welcome to Modding!".
Next import the @Mod annotation from net.minecraftforge.fml.common.Mod and annotate your class with it. This tells Forge that this class is a mod and should be loaded along with all other installed mods.
Imports
Imports in Java allow you to use other classes in your code without fully qualifying them each time. Imports “import” Classes from other packages into your file. For example if you want to use the@Modannotation, you need to import it from Forge’s package before you can use it
Your final main mod class should look something like this
package io.github.cadiboo.examplemod;

import net.minecraftforge.fml.common.Mod;

@Mod(ExampleMod.MODID)
public final class ExampleMod {

	public static final String MODID = "examplemod";

}
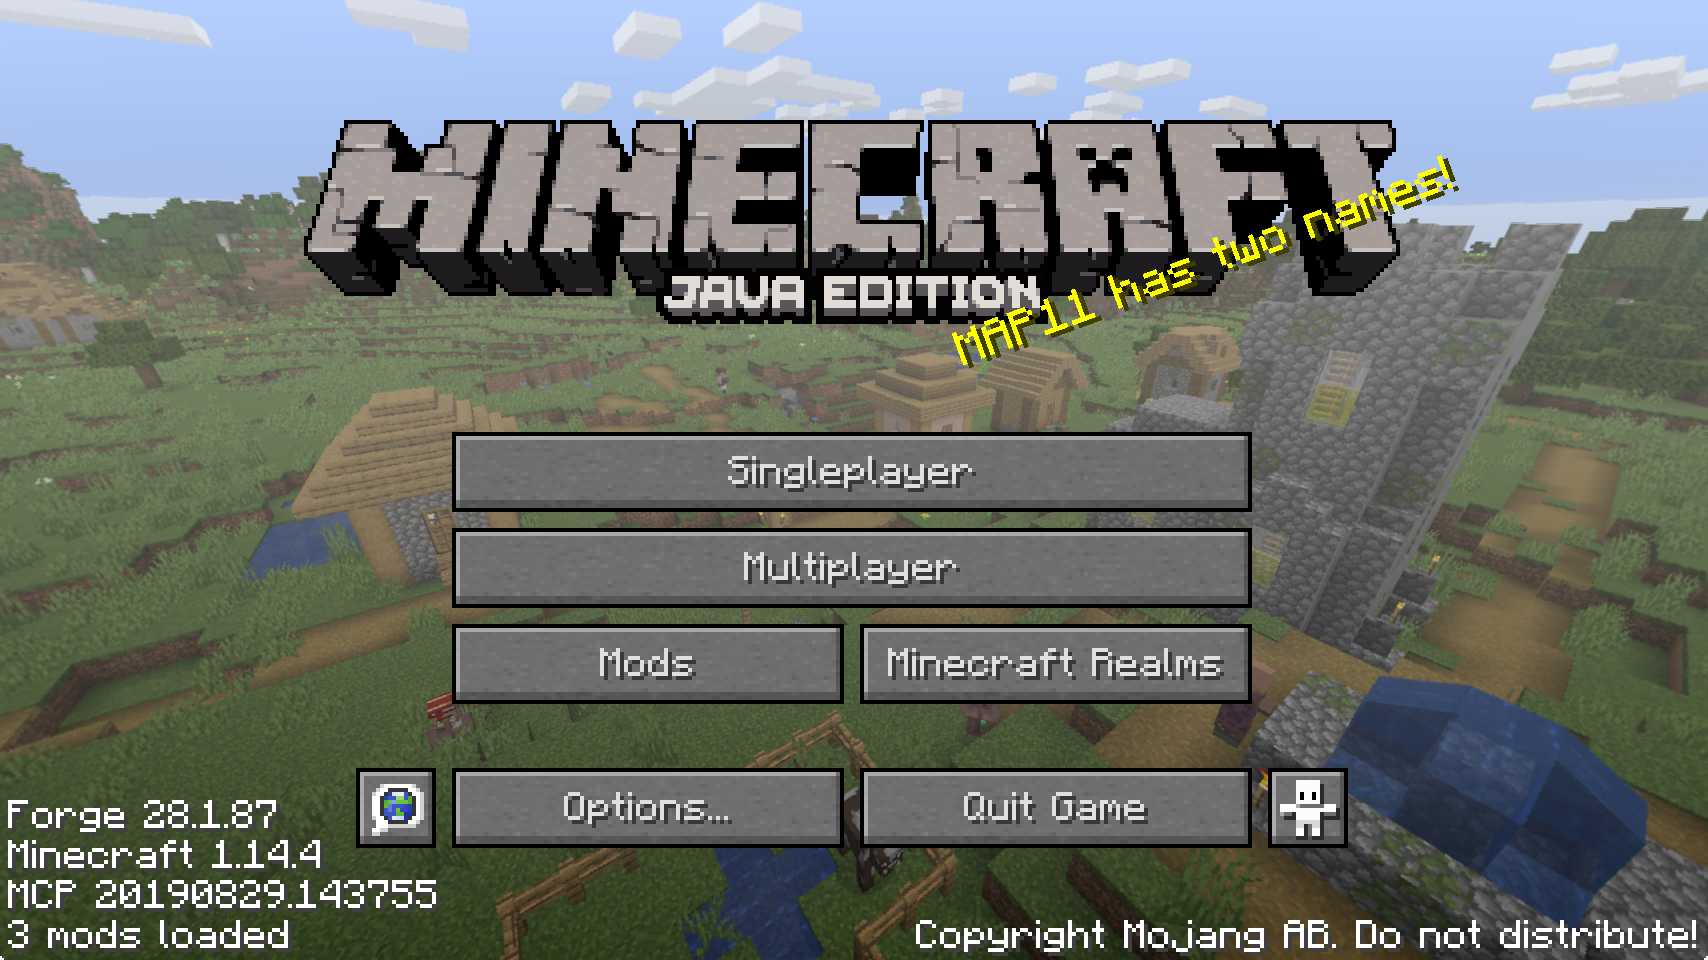
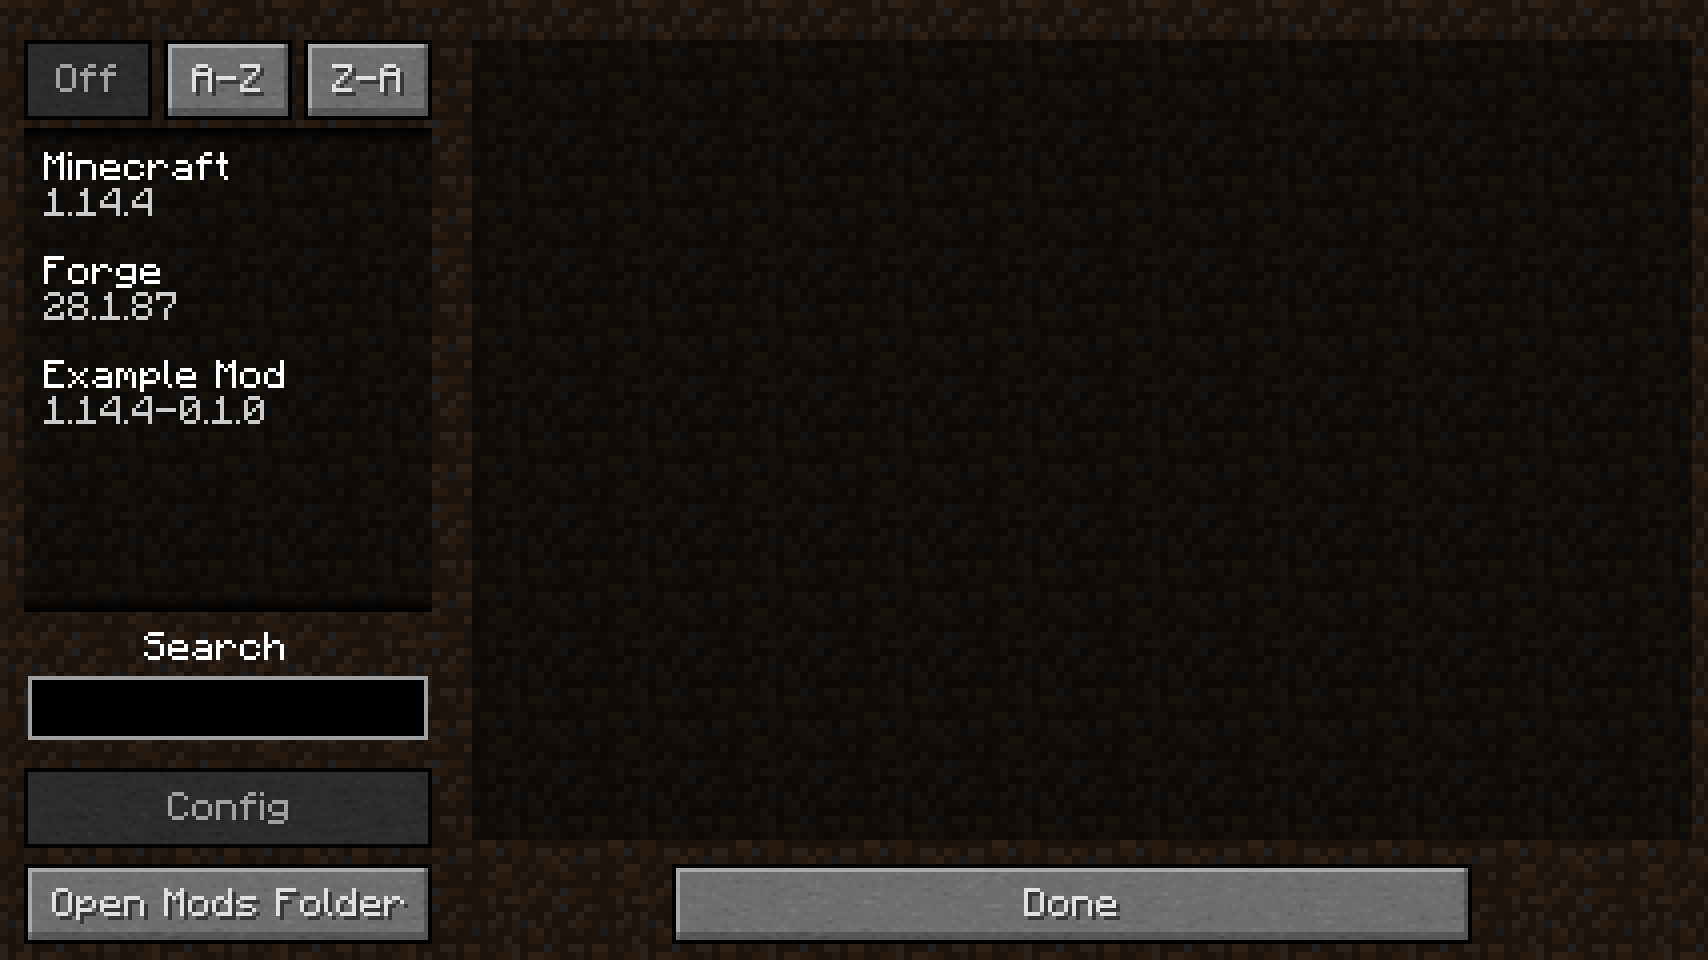
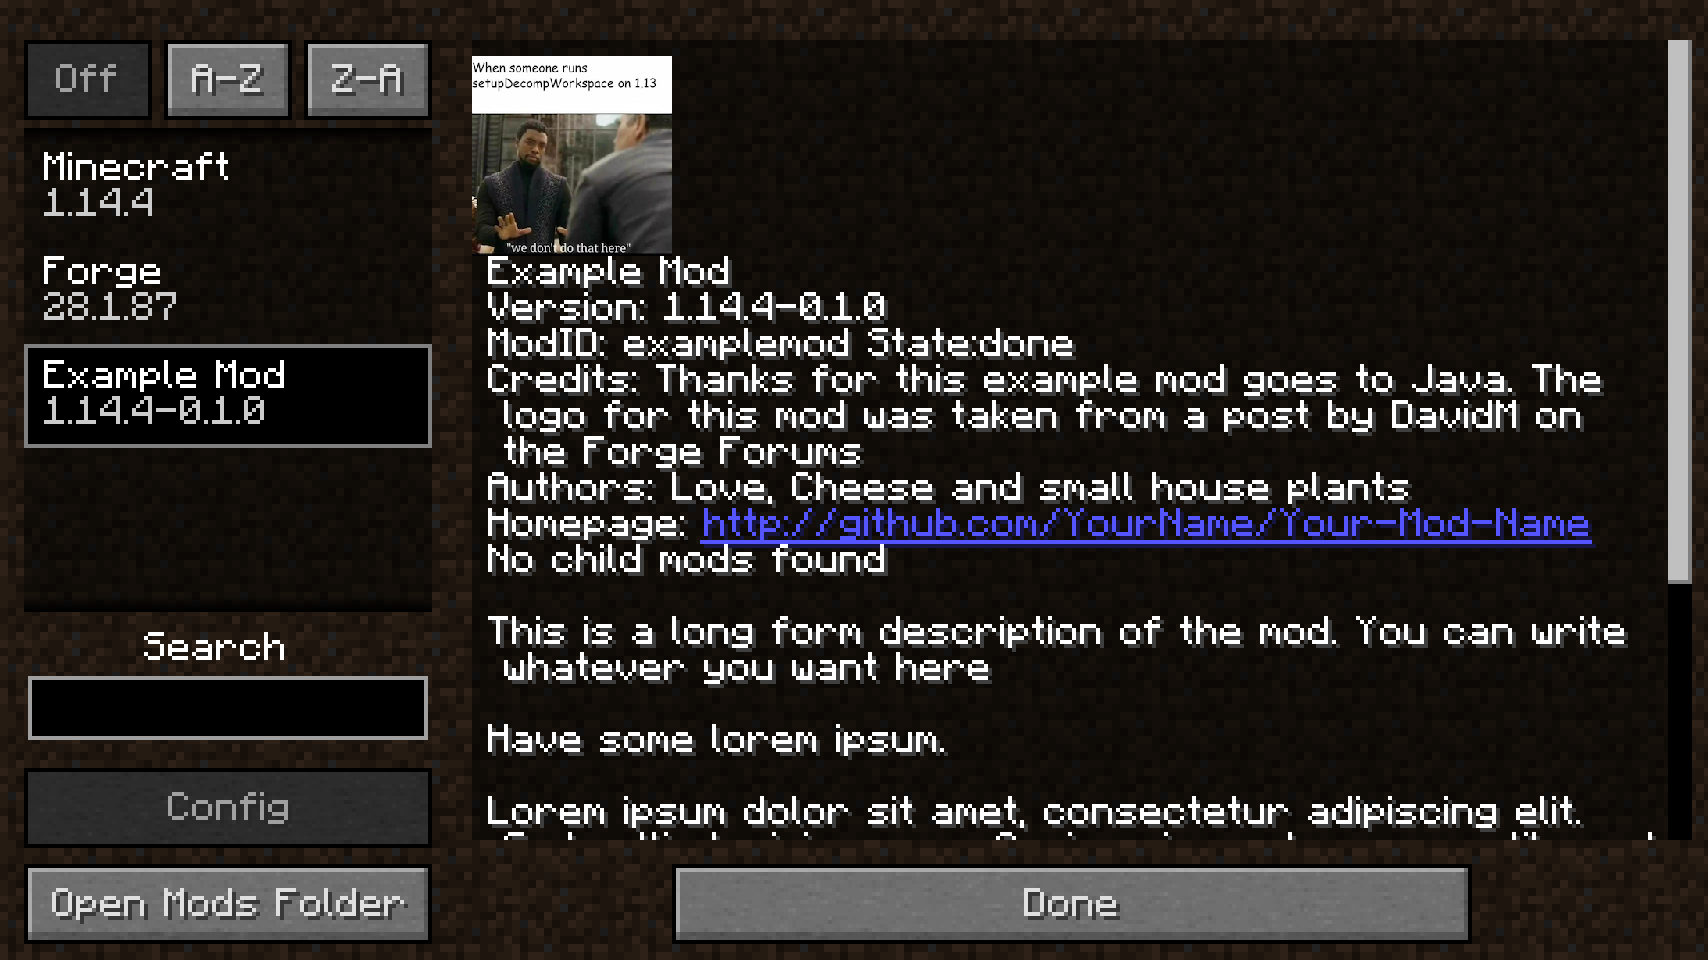
Finally run Minecraft and you should be able to see “2 mods loaded” in the bottom left of the title screen and also be able to see your mod in the mods list.


